

You're standing in your kitchen with your phone in one hand and two very different quotes in the other, wondering why the same cabinets produced such different numbers. It's a common moment for homeowners researching restain kitchen cabinets cost. The cabinets still work, the layout still suits how you cook, but the color feels tired and the finish has gone dull around the handles.
That gap between quotes usually isn't about square footage. It's about scope, preparation, and what each contractor included or left out. Once you can read those lines, the estimates start to make sense.
Table of Contents
- What Really Drives a Restain Quote
- What Restaining Involves and Why Prep Takes the Most Work
- Dark-to-Light Color Changes and Coating Compatibility
- Restaining, Painting, Refacing or Replacing
- Common Questions About Restaining Costs
- Get an Itemized Estimate Before You Decide
What Really Drives a Restain Quote
Two kitchens can measure almost identically and still need very different amounts of work. One may have a handful of large doors and a sound finish that only needs cleaning and scuff-sanding. The other may have many small drawer fronts, greasy panels near the stove, lifting veneer, and a dark finish the owner wants much lighter.
That's why we don't price restaining from room size alone. Every project is unique, so we provide a personalized estimate after an on-site look, and the quote for cabinet restaining is free. I would read any proposal by component, not by the size of the room.
Cost Factors and What They Change
| Factor | What It Changes | What to Ask For |
|---|---|---|
| Number of doors and drawer fronts | Sanding, masking and coating time | An itemized count by component |
| Cabinet boxes and interiors | Labor on fixed boxes that cannot leave the site | Whether interiors and end panels are included |
| Existing finish | Whether the old clear coat must be stripped or only scuff-sanded | How the current finish was assessed |
| Wood species and veneer | How evenly the new stain takes and how much sanding veneer tolerates | Stain samples on your own doors |
| Repairs | Dings, chips, loose joints and swollen areas | Which repairs are included and which are extra |
| Color change | Dark-to-light changes can need heavier stripping or a painted finish | Sample approval before full work begins |
| Access and protection | How easily doors and boxes are reached and how well work areas are protected | Whether masking, ventilation and floor and counter protection are listed |
| Topcoat and reinstallation | Final durability and how well doors and hardware fit back | The topcoat type and the rehanging steps |
A lower quote isn't automatically a better value. If it leaves out masking, repairs, interiors, or end panels, it may not cover the same job at all.
Ask for doors, drawer fronts, boxes, and interiors as separate lines. That simple breakdown shows where the labor goes and makes two proposals much easier to compare for homeowners in Austin, Round Rock, Cedar Park, and nearby communities.
What Restaining Involves and Why Prep Takes the Most Work
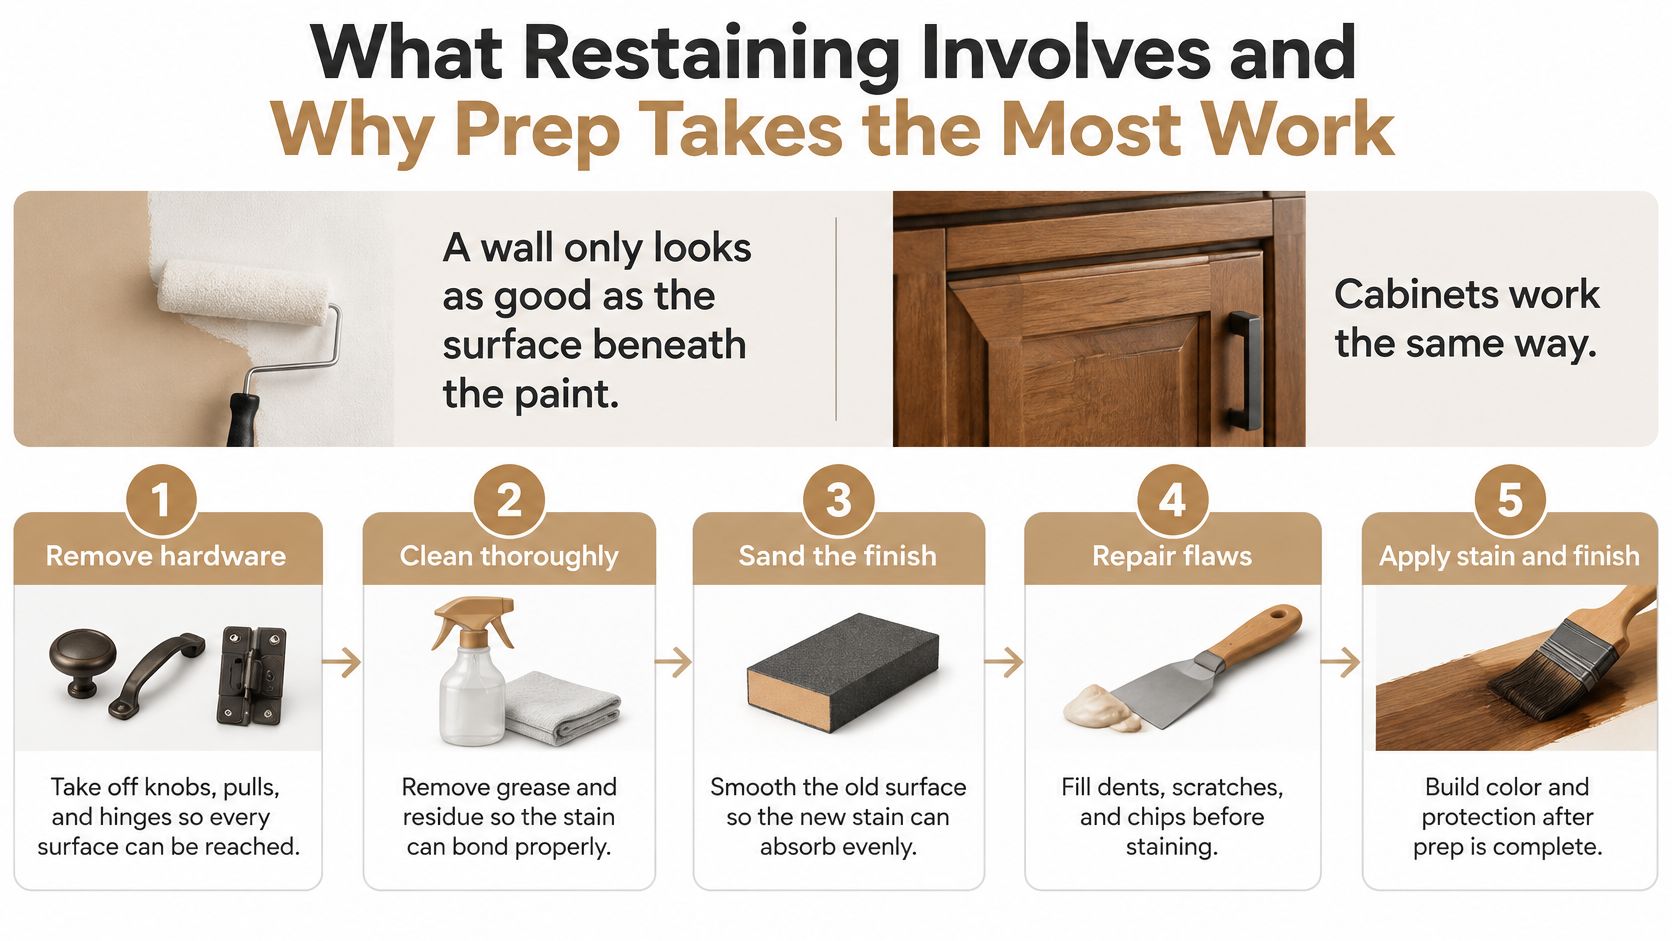
Cabinets usually fail at the surface before they fail as boxes. Stain is less forgiving than paint because it keeps the grain visible and lets scratches, grease, and uneven sanding show through the new color. Prep is where the labor lives, which is why restaining is priced by scope and preparation more than by square footage.
The work starts with a consultation where the team looks at your cabinets, talks through the color you want, and answers your questions. Cabinet refinishing then strips, repairs and refinishes cabinets in a durable film, without losing a working kitchen. Each stage has to be ready before the next one starts.
The Restaining Sequence Step by Step
- Remove and label everything: Doors, drawer fronts, and hardware come off and get labeled so each piece returns to its original opening, where it already fits.
- Clean and degrease: Cooking residue, furniture polish, and hand oils are removed from faces, edges, profiles, and the areas around pulls.
- Strip or scuff-sand: A sound finish may only need abrasion so the next coat grips. A failing or incompatible finish may need to come off more fully.
- Repair the surface: Dings, chips, loose joints, and swollen areas are handled now, because stain will not level them later.
- Sand in stages: Abrasives move from defect removal to surface refinement, chosen for the wood, veneer thickness, and coating involved.
- Test the stain: Color is sampled and approved before the full kitchen is stained.
- Apply stain evenly: Doors, drawers, and cabinet boxes are worked so the tone reads consistently across the room.
- Clear coat and rehang: A protective topcoat goes on, then doors and hardware go back and get aligned.
Why Cleaning Comes Before Sanding
Sanding a greasy door pushes contamination deeper into the surface. The Purdue University Extension guide on wood finishing explains that dirt, oil, and other surface contamination must be removed before applying a wood finish because contaminants can interfere with coating performance. In a kitchen, the worst buildup often hides near the cooktop, above the dishwasher, and around handles touched every day.
Cleaning also reveals the true condition of the finish. Once residue is gone, peeling edges, worn traffic zones, and swollen areas near the sink are easier to see, and the decision between scuff-sanding and fuller stripping becomes clearer.
Why Sanding Is a Staged Decision
There is no single grit that fits every door. Coarser abrasive comes first when it is needed to cut defects or level minor damage. Finer abrasive follows so scratches do not telegraph through stain and leave the surface looking cloudy under the clear coat.
The limit is veneer. Go too far and you can sand through a thin face or round over a sharp edge that helps a door look crisp after rehanging. That is why flat doors, profiled drawer fronts, frames, and fixed boxes often get different handling even in the same kitchen.
Before a visit, check three things: veneer edges that lift when you run a fingernail along them, soft or swollen spots near the sink, and sticky areas near the stove. Note them, don't try to fix them.
A careful quote should make those conditions visible in the scope: cleaning, protection, stripping versus scuff-sanding, repairs, sanding approach, stain approval, topcoat, and reinstallation. If the cabinets turn out to be better candidates for a solid color than a visible grain finish, the guide to cabinet painting in Austin, TX explains how that process differs.
Dark-to-Light Color Changes and Coating Compatibility
Say you have dark oak cabinets and you want a pale, warm tone you saw in a photo. That's the request that changes a restaining conversation the fastest. Stain adds color to wood, so it can deepen or shift a tone, but it can't reliably lighten a surface that already carries a dark finish.
Going lighter usually means removing much more of the existing finish first. In some cases, even careful stripping won't get the wood pale enough for the shade you want, and a painted finish becomes the honest option. I'd rather tell you that at the sample stage than after half the kitchen is done.
Samples on Your Own Wood
Cabinet restaining changes the tone of wood while keeping the grain visible, and samples are finished in your own wood species first. We prepare stain samples on your own cabinet doors so you can approve the color before the work continues. Wood species, grain, and the old finish underneath all shift the result, so a store sample board won't tell you enough.
Look at the sample in morning and evening light, and next to your counters and flooring. A tone that reads warm at noon can look gray under your evening lighting.
Stain, Sealer, and Topcoat as One System
Stain, sealer, primer, and topcoat have to work together as a compatible system. Mixing products that don't bond well can leave a finish that looks fine on day one but fails early at edges and handles. Before choosing a method, we check what coating is already on the cabinets, how it responds to preparation, and whether the new layers will hold onto it.
We also apply consistent color and finish across doors, drawers, and cabinet boxes throughout the kitchen, so the room reads as one set. Our notes on choosing the right cabinet finish walk through sheen and durability choices if you want to compare before we meet.
Restaining, Painting, Refacing or Replacing
The right option depends on your cabinet boxes, your layout, and the look you want. Before you compare prices, answer a few honest questions about what you already have.
- Are the boxes square and solid? Open doors and check whether they hang evenly and close without rubbing.
- Is any veneer lifting? Bubbling or loose edges point to repair work or a different approach.
- Is there water damage? Look under the sink and around the dishwasher for soft, swollen material.
- Does the layout still work? If storage and traffic flow frustrate you daily, a new finish won't fix that.
Choosing Between Restaining and Other Options
| Option | Best When | Main Limit | Typical Scope |
|---|---|---|---|
| Restaining | Boxes are solid, the layout works, and you want the wood grain visible | Cannot fix water damage or a poor layout; dark-to-light changes need extra prep | Doors, drawer fronts, boxes and interiors refinished |
| Painting | You want a solid color or a fresh modern look | Hides the wood grain and needs proper bonding primer | Same surfaces, finished in paint |
| Refacing | Boxes are sound but door styles or finishes look dated | Adds new fronts, so it does not change the layout | New door and drawer fronts on existing boxes |
| Door replacement | Only the doors are worn or outdated | Tired boxes can still show through | New doors on existing frames |
| Full replacement | Layout, storage or structure must change | Most disruption and the longest timeline | New cabinet boxes, doors and installation |
Restaining keeps the wood grain visible. Painting gives you a solid color and hides the grain, and cabinet painting updates a kitchen without removing and replacing the existing cabinetry. Both depend on sound boxes underneath.
Restaining won't fix water-damaged particleboard, badly warped doors, or a layout that no longer works for your family. Our comparison of whether to refinish or replace your cabinets goes deeper on that decision. Because RMK Contractors offers painting, staining, and refinishing, our recommendation can come after an inspection rather than a guess.
Common Questions About Restaining Costs
Why Can't You Give a Price Range Here?
Because the number follows your scope and condition, not a formula. Door count, existing finish, repairs, and color change all move the work. We provide a personalized estimate after an on-site look so the quote reflects your kitchen.
Is Restaining a More Budget-Minded Route Than Replacing?
It's often considered when the cabinet boxes are solid, because it keeps sound boxes in place instead of replacing them. Refacing and full replacement add new materials and more disruption. The comparison only holds if your existing cabinetry justifies keeping it.
Can I Restain Only the Doors?
Yes, if the boxes are in good shape and the color goal fits what's already there. Ask for a component-by-component list so you can see exactly which surfaces are included. Matching new-looking doors to untouched boxes takes care, so samples matter here too.
How Long Does the Work Take?
It depends on the number of components, the preparation needed, and drying time between coats. Doors shouldn't be rehung before the finish is ready, however tempting it is to speed things up. We walk through timing during the consultation once we've seen the kitchen.
Will Restaining Fix Water Damage or Warped Doors?
No. Stain and clear coat are surface finishes, not structural repairs. Swollen or soft material and badly warped doors need repair or replacement first, and sometimes that changes the whole recommendation.
Do I Have to Empty the Kitchen?
We protect work areas and keep the kitchen usable where possible. You'll still want to clear counters and plan around some disruption while boxes are being worked on in place. We'll explain what to move before work begins.
If one quote is much lower, compare the lines, not the totals. Check whether masking, repairs, interiors, and end panels are included before you decide it's the better deal.
Get an Itemized Estimate Before You Decide
Every kitchen is different, so the most useful next step is a conversation about your own cabinets. A well-prepared finish still faces heat, steam, cleaning products, and daily handling once it's back in service. Areas near ovens, dishwashers, sinks, and cooktops see the most wear, and they deserve the most honest discussion.
A study of varnished beech and thermal aging found that increased thermal aging reduced both adhesion strength and gloss values, which is a fair reminder that no finish is immune to its environment. I won't promise a fixed number of years. Finish choice, preparation, and how the kitchen gets used all shape how it holds up.
How to Review Any Proposal
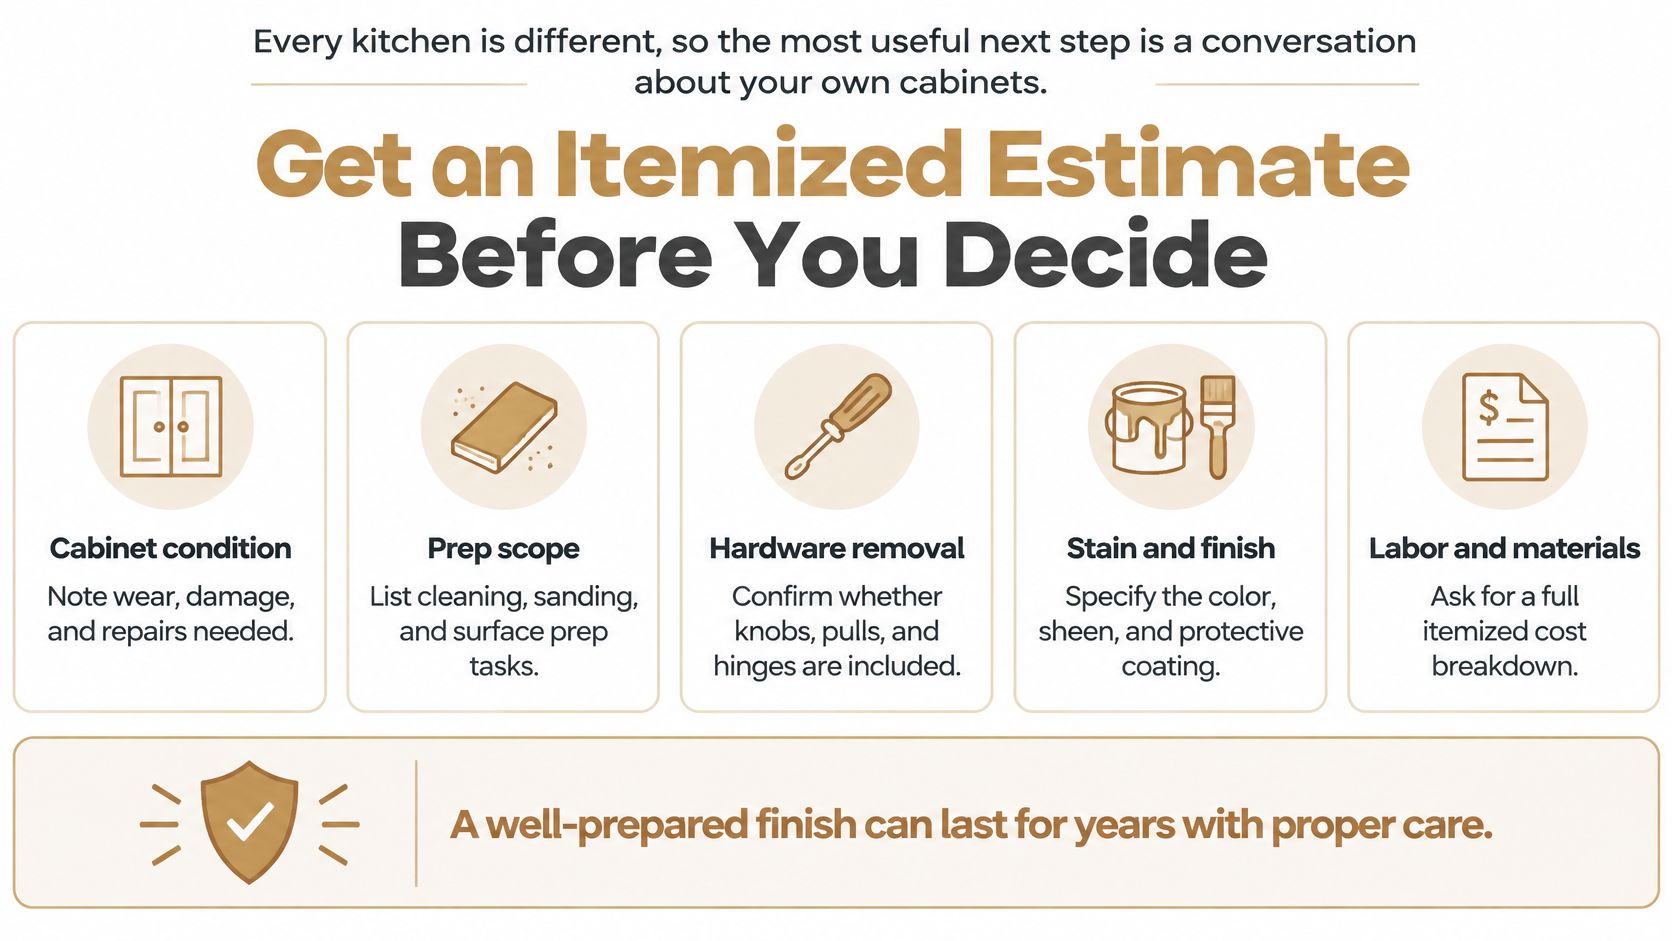
Use the What to Ask For column in the cost factor table as your checklist when a proposal arrives. Then confirm two things it may not show clearly. First, are doors, boxes, interiors, and end panels listed as separate lines? Second, is the topcoat type named, along with how doors and hardware get rehung?
The consultation is where we look at the cabinets, talk through color, and answer your questions, and the estimate is free. If you're in Austin, Round Rock, Cedar Park, Leander, Pflugerville, Georgetown, Lakeway, or a nearby Central Texas community, request a free estimate and take your time with the decision. There's no pressure to decide on the spot.
If your cabinets are solid but the finish no longer suits your kitchen, RMK Contractors can look at the wood, test stain samples on your own doors, and give you an itemized estimate that separates preparation, repairs, staining, and topcoat. Visit RMK Contractors to request your free estimate and talk through whether restaining, painting, or another option fits your Central Texas home.